Managing Roles
This section details how to manage OCSPd Roles.
Creating a Role
Step 1: Access the OCSPd Web Management Console;
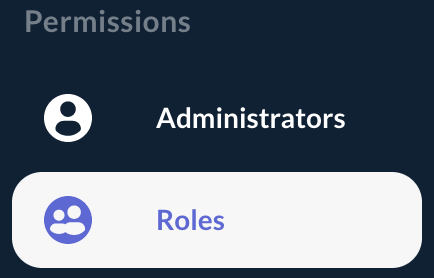
Step 2: In the 'Permissions' left menu, select 'Roles':
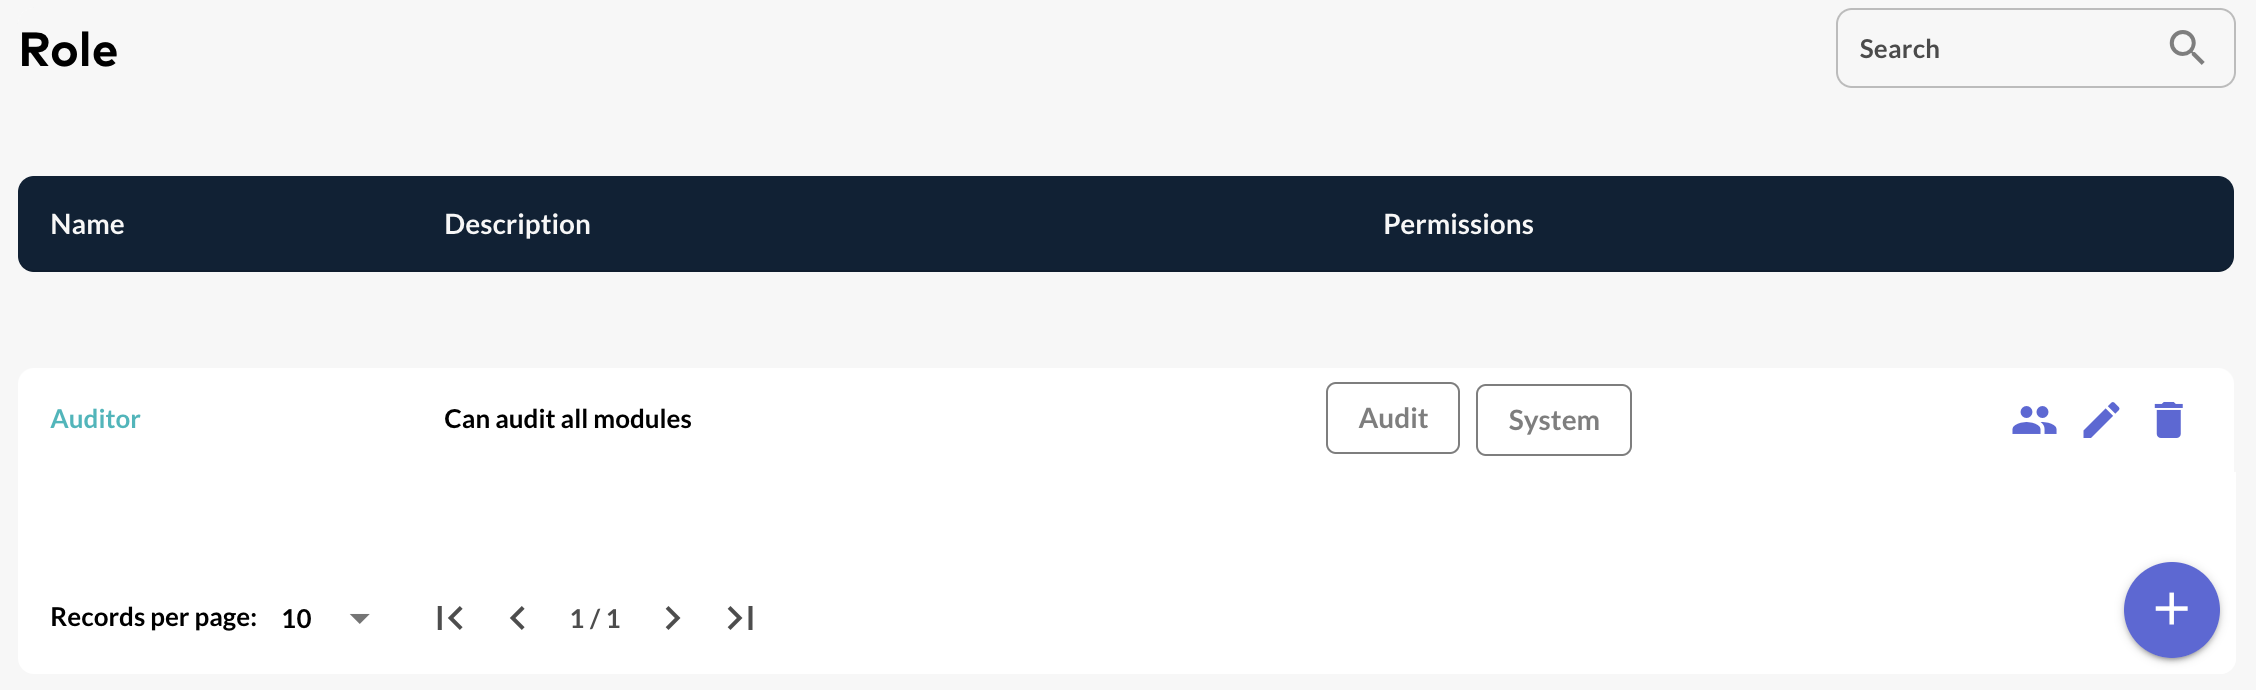
Step 3: In the Roles page, hit the '+' button at the bottom of the page:

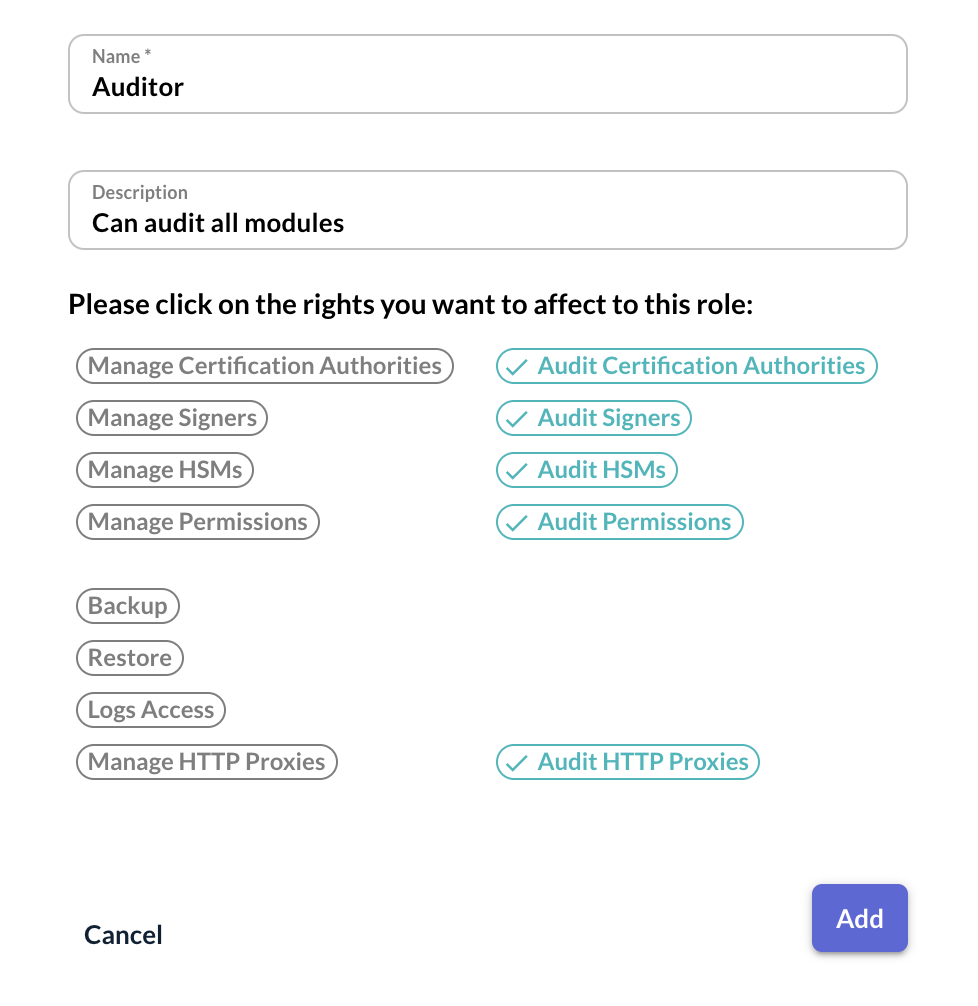
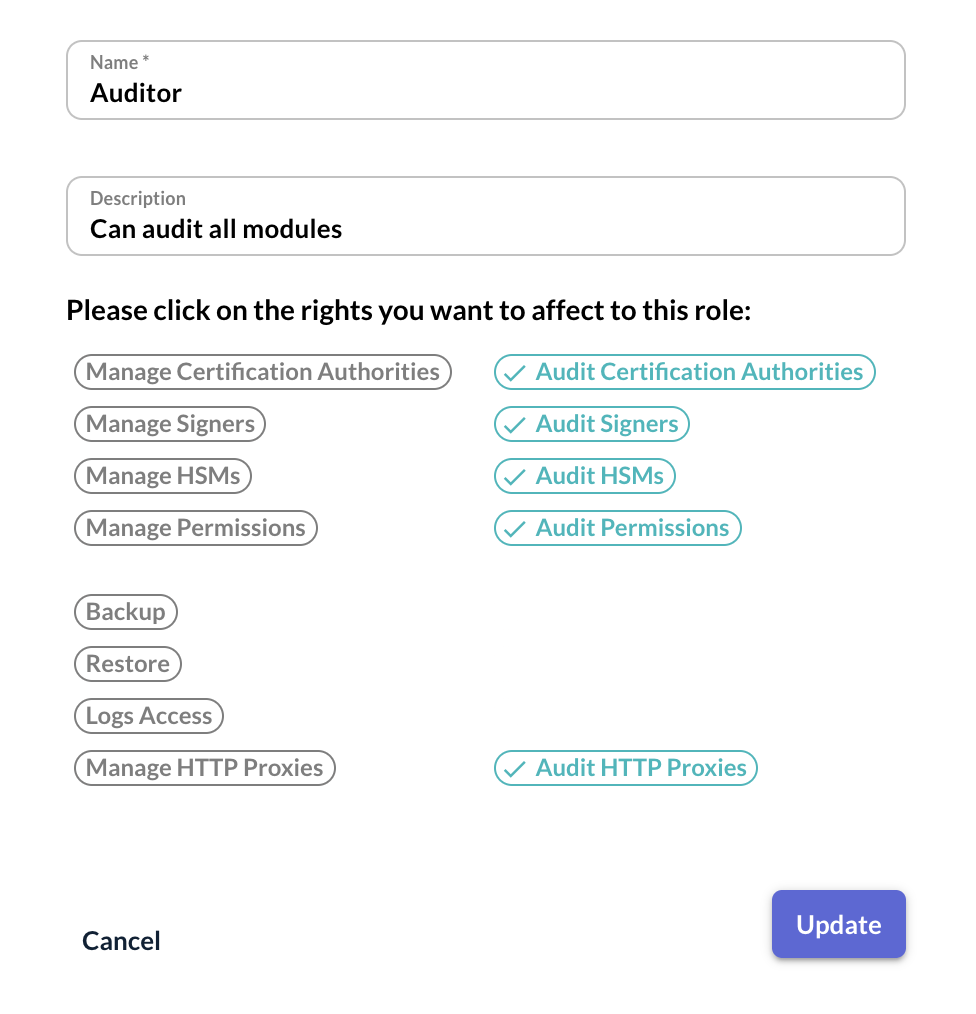
Step 4: Specify the following elements:
-
'Name': name of the role;
-
'Description' (optional): description of the role;
-
'Permissions' (click on each right to select it): right(s) of manage/audit each module and perform system tasks given to the role.
| 'Manage' right is a 'read and modify' right. 'Audit' is a 'read-only' right. |
And hit the 'Add' button:
Step 5: The Role is successfully created:

Editing a Role
Step 1: Access the OCSPd Web Management Console;
Step 2: In the 'Permissions' left menu, select 'Roles':
Step 3: Click on the Role’s name you are willing to edit or hit the ![]() button:
button:

Step 4: Modify the Role attributes and hit the 'Update' button:
Step 5: The Role is successfully updated:

Display and manage Members of a Role
Step 1: Access the OCSPd Web Management Console;
Step 2: In the 'Permissions' left menu, select 'Roles':
Step 3: For the Role you want to see the Members, hit the ![]() button:
button:

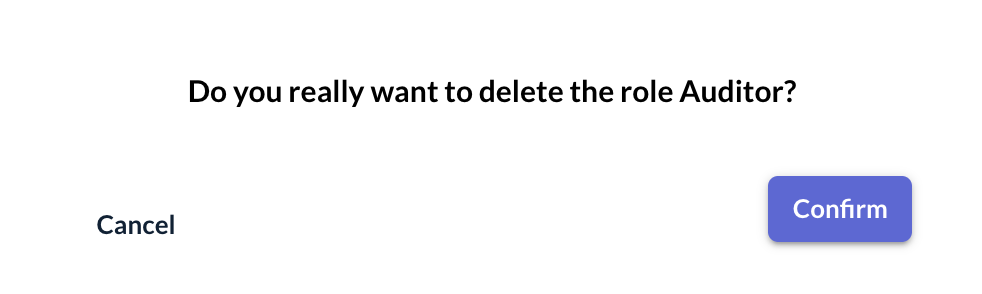
Step 4: Hit the button ![]() to remove the Administrator from the Role:
to remove the Administrator from the Role:
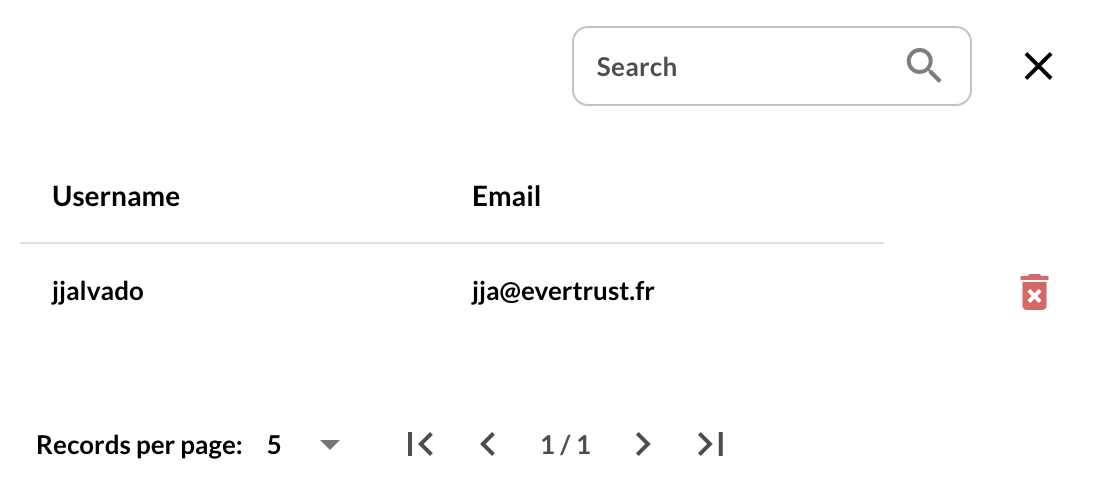
Step 5: The Administrator is successfully removed from the Role: