NGINX Specific Configurations
OCSPd uses the NGINX web server to:
-
Act as a proxy for the OCSPd Play! application (Web Management Console & OCSP responder);
-
Serve the CRLs when the OCSPd component is used as an HTTP CRL Distribution Point.
The following schema summarizes the interaction between NGINX, the filesystem and the OCSPd Play! Application:

| The NGINX configuration is defined in the file '/opt/ocspd/etc/ocspd-httpd.conf' and loaded through a symbolic link under '/etc/nginx/conf.d/'. Tweaking this configuration is possible, but any modification not specifically documented in this guide is not supported. |
The NGINX configuration file can be tweaked to enable OCSP stapling.
Enabling OCSP Stapling
| OCSPd can be natively used to perform OCSP Stapling. This section simply details how to activate OCSP Stapling on the OCSPd NGINX instance for the Web Management Console. This configuration is optional. |
| More information regarding OCSP Stapling can be found here OCSP Stapling. |
| To enable OCSP Stapling, OCSPd must be able to process OCSP request regarding the Certificate Authority used to issue the server certificate. |
Step 1: Access the server through SSH with an account with administrative privileges;
Step 2: Edit the file '/opt/ocspd/etc/ocspd-httpd.conf';
Step 3: Uncomment the following lines:
ssl_stapling on;
ssl_stapling_verify on;
ssl_stapling_responder http://127.0.0.1:9000/ocsp;
Step 4: Reload the NGINX configuration with the following command:
# /etc/init.d/nginx reloadRenewing the Server certificate
Issuing a Certificate Request (PKCS#10)
Step 1: Access the server through SSH with an account with administrative privileges;
Step 2: Load the OCSPd Configuration Utility with the following command:
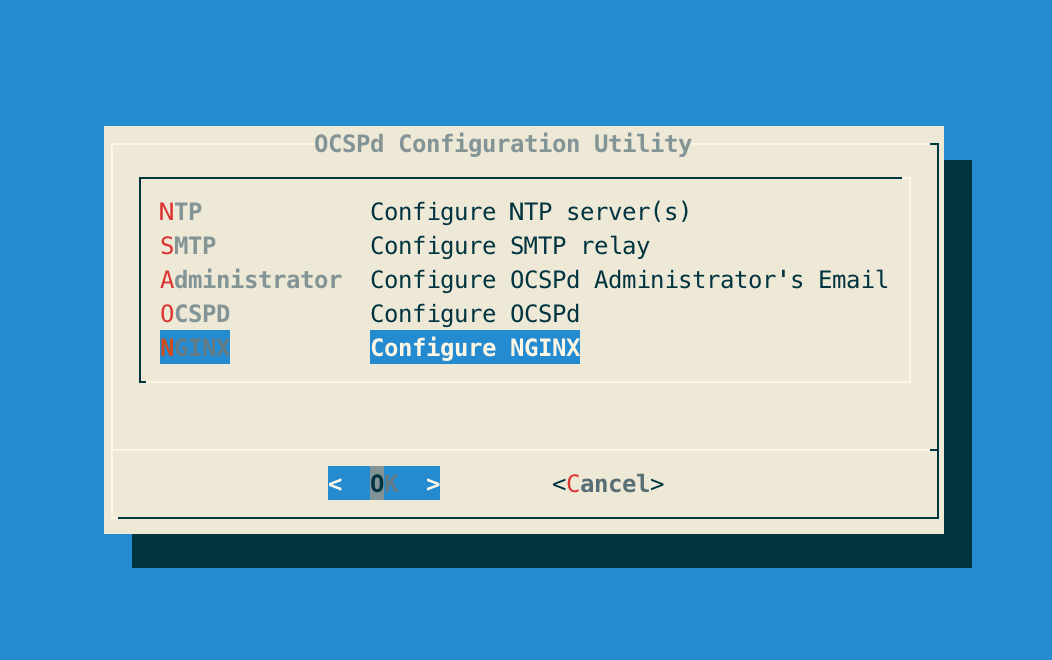
# /opt/ocspd/sbin/ocspd-configStep 3: In the main menu, select 'NGINX':
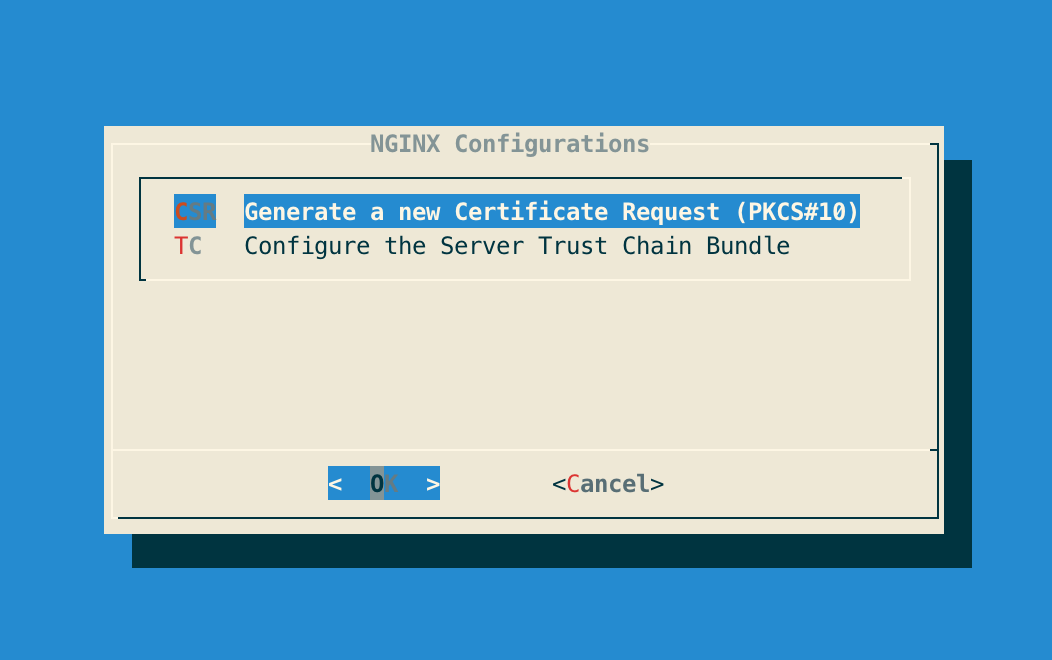
Step 4: In the NGINX menu, select 'CSR':
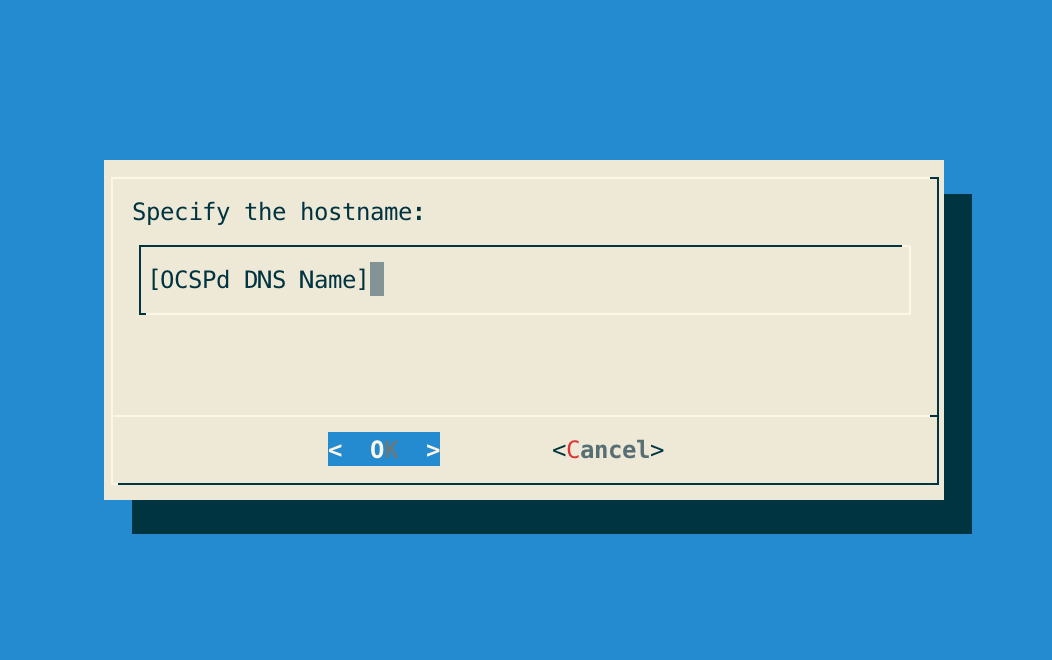
Step 5: Specify the DNS Name of the OCSPd server:
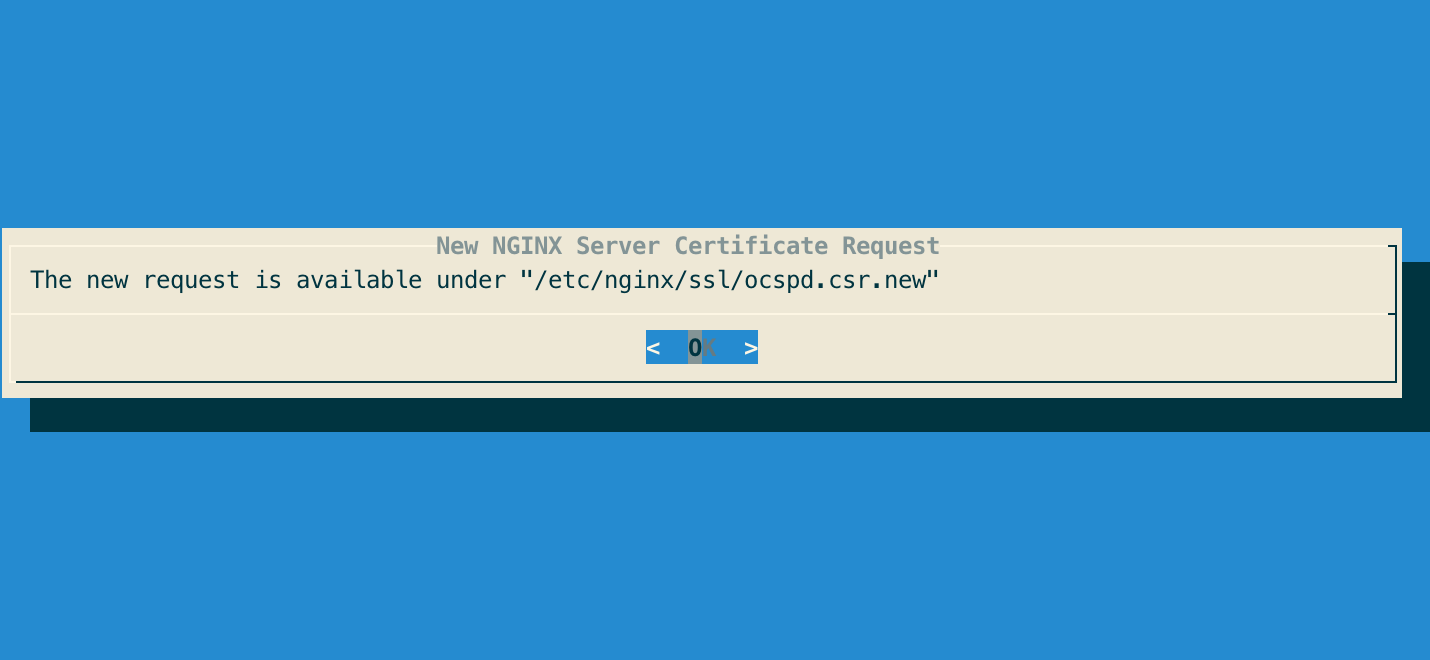
Step 6: The new certificate request is generated and available under '/etc/nginx/ssl/ocspd.csr.new':
Step 7: Sign the certificate request using the corporate PKI.
Installing a Server Certificate
Step 1: Upload the generated server certificate on the OCSPd server under '/tmp/ocspd.pem' through SCP;
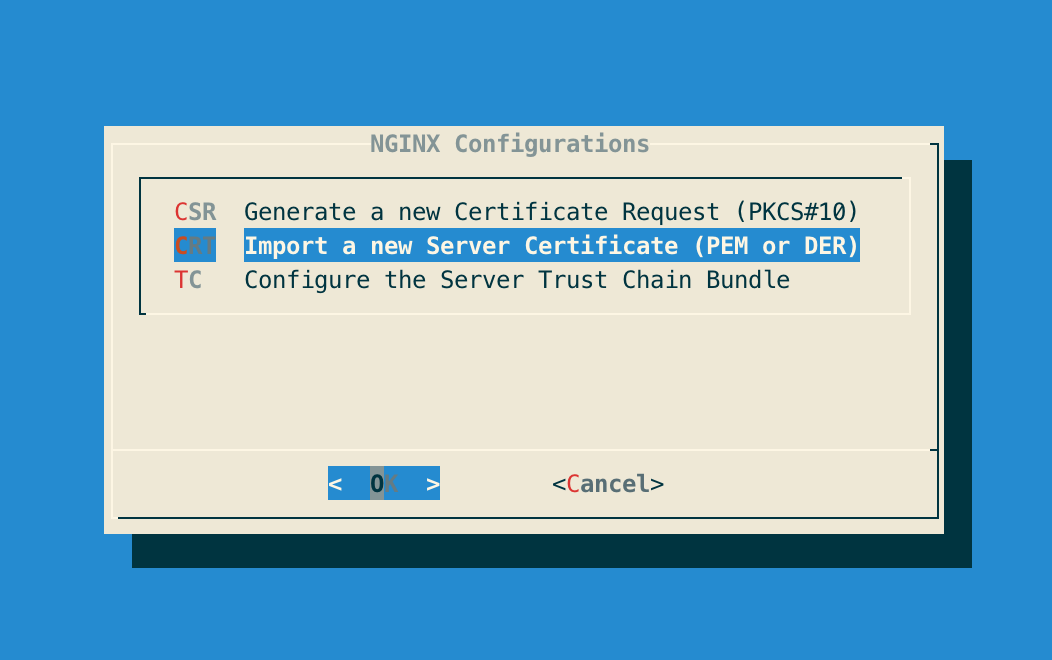
Step 2: In the NGINX configuration menu, select 'CRT':
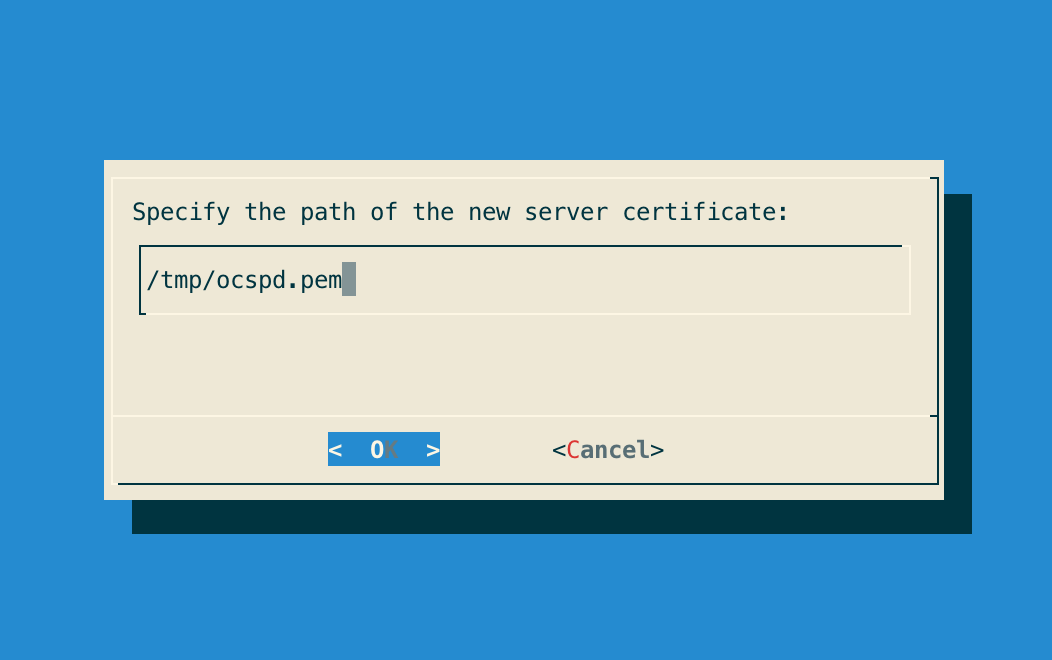
Step 3: Specify the path '/tmp/ocspd.pem' and validate:
Step 4: The server certificate is successfully installed:
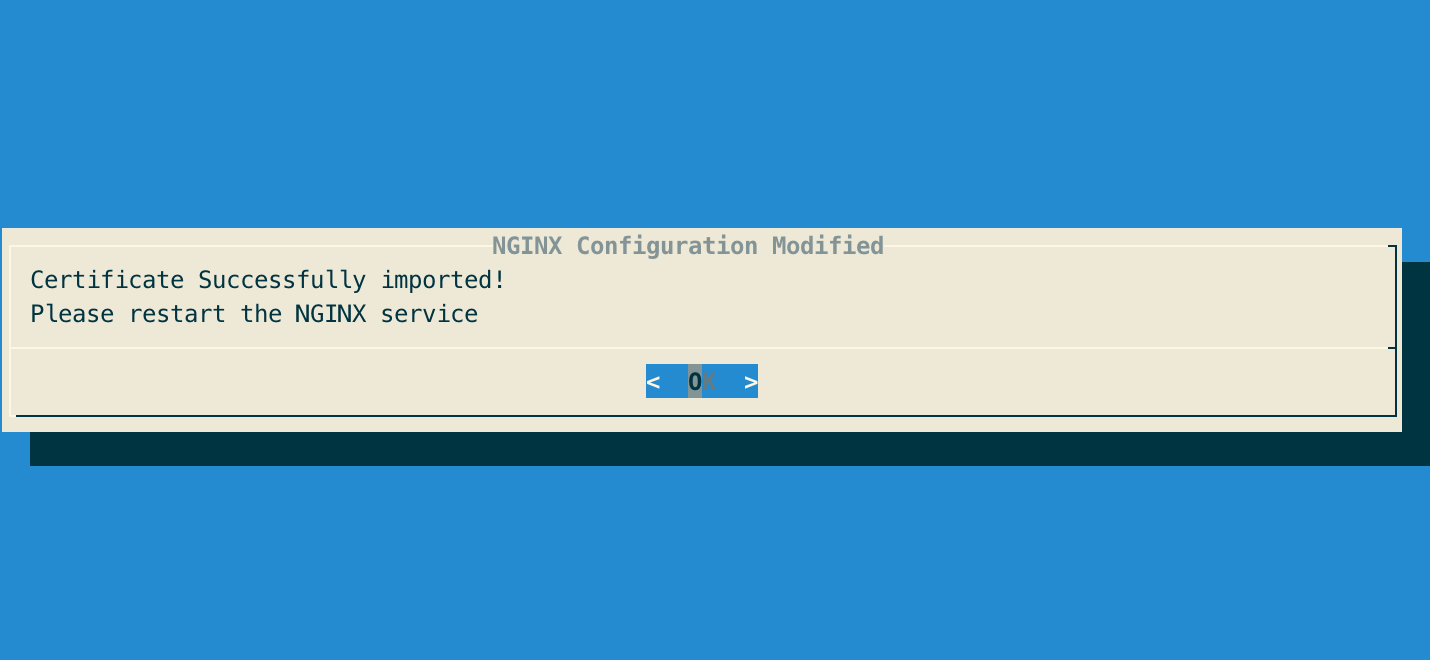
Step 5: Exit the configuration utility and reload the NGINX service with the following command:
# /etc/init.d/nginx reload