Configuring OCSPd
Configuring the NTP server(s)
Step 1: Access the server through SSH with an account with administrative privileges;
Step 2: Load the OCSPd Configuration Utility with the following command:
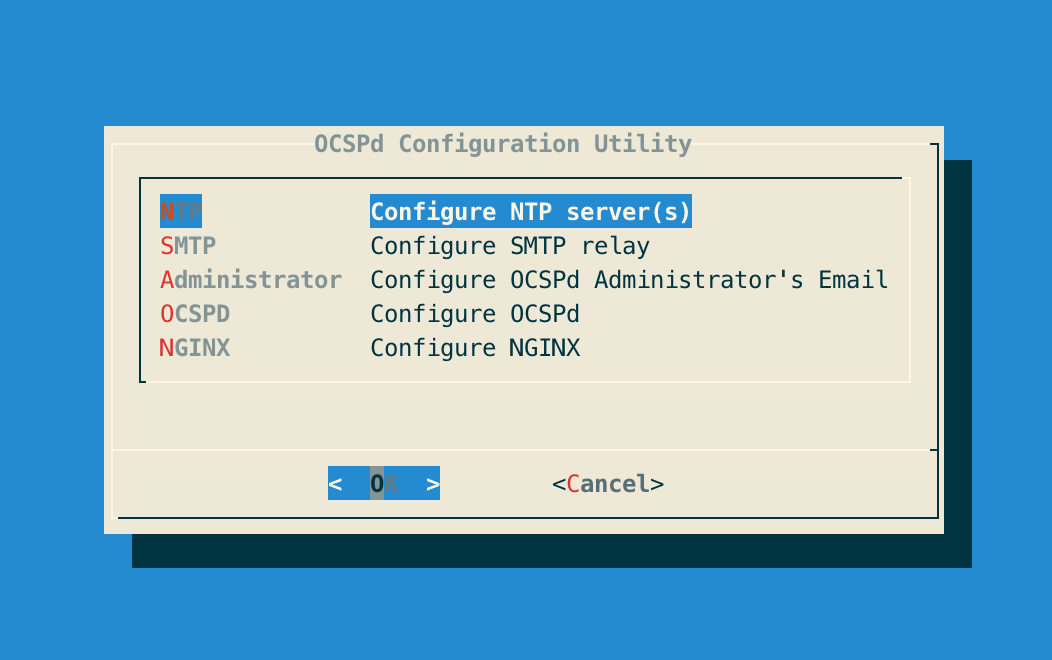
# /opt/ocspd/sbin/ocspd-configStep 3: In the main menu, select 'NTP':
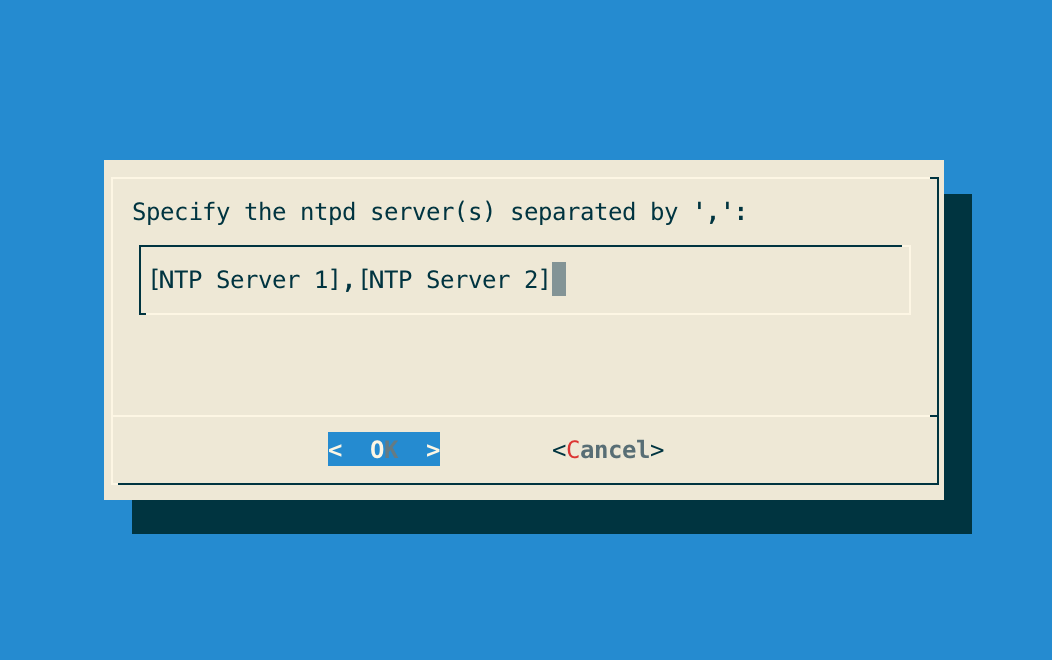
Step 4: Specify the list of NTP server(s) separated by ',' and validate:
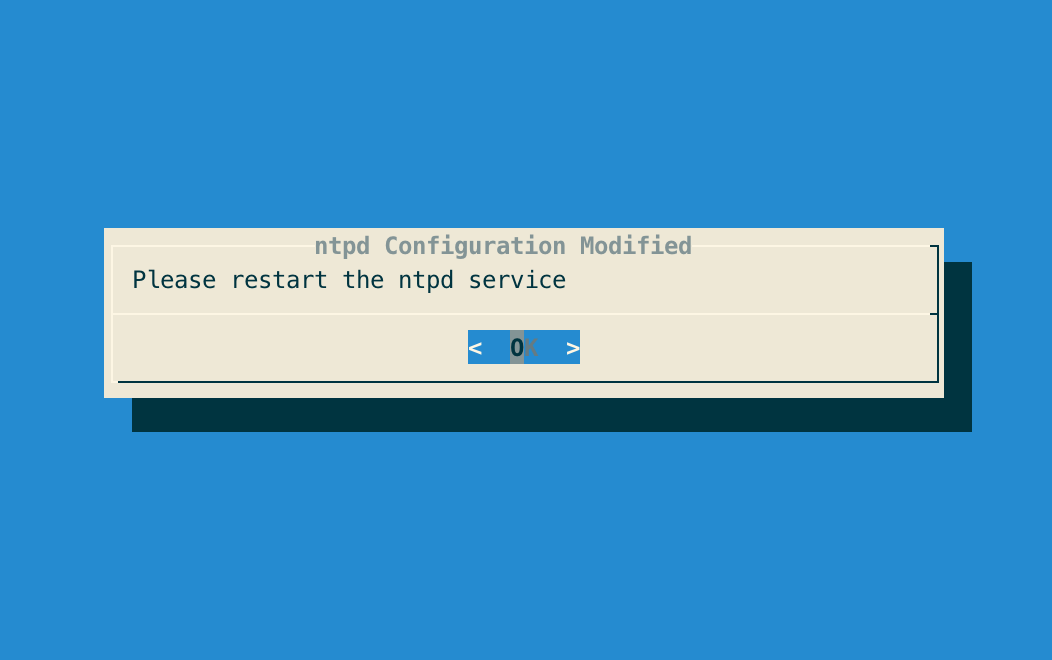
Step 5: The NTPs configuration is updated:
Step 6: Exit the configuration utility and restart the NTPd service with the following command:
# /etc/init.d/ntpd restartConfiguring the SMTP Relay
Step 1: Access the server through SSH with an account with administrative privileges;
Step 2: Load the OCSPd Configuration Utility with the following command:
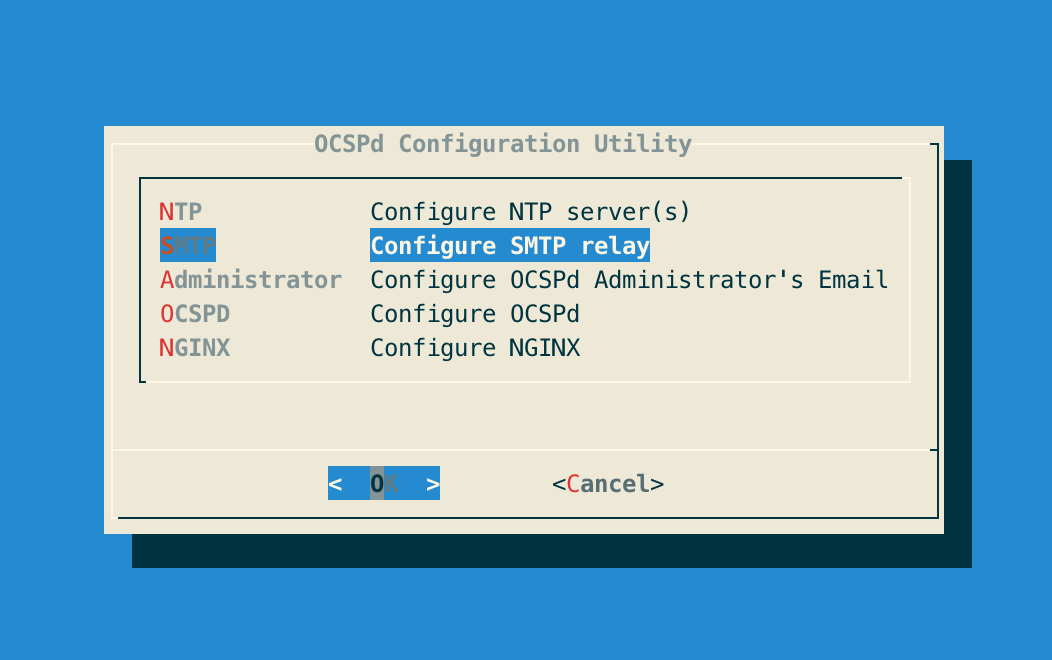
# /opt/ocspd/sbin/ocspd-configStep 3: In the main menu, select 'SMTP':
Step 4: Specify IP address or the DNS name of the SMTP relay and validate:

Step 5: The Postfix configuration is updated:

Step 6: Exit the configuration utility and restart the Postfix service with the following command:
# /etc/init.d/postfix restartConfiguring the OCSPd Administrator’s Email Address
Step 1: Access the server through SSH with an account with administrative privileges;
Step 2: Load the OCSPd Configuration Utility with the following command:
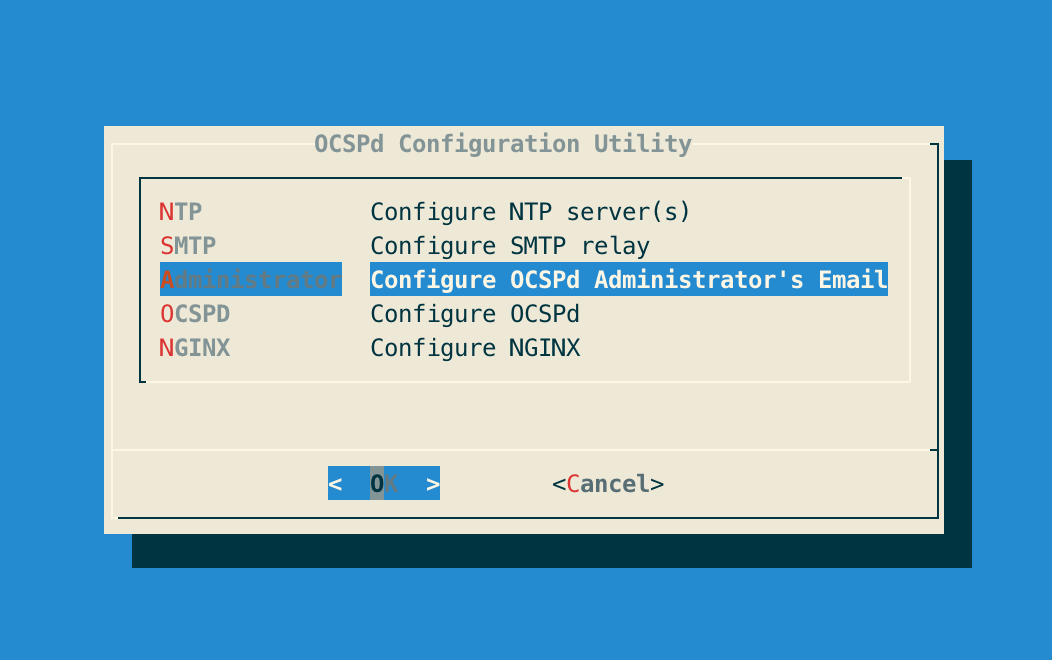
# /opt/ocspd/sbin/ocspd-configStep 3: In the main menu, select 'Administrator':
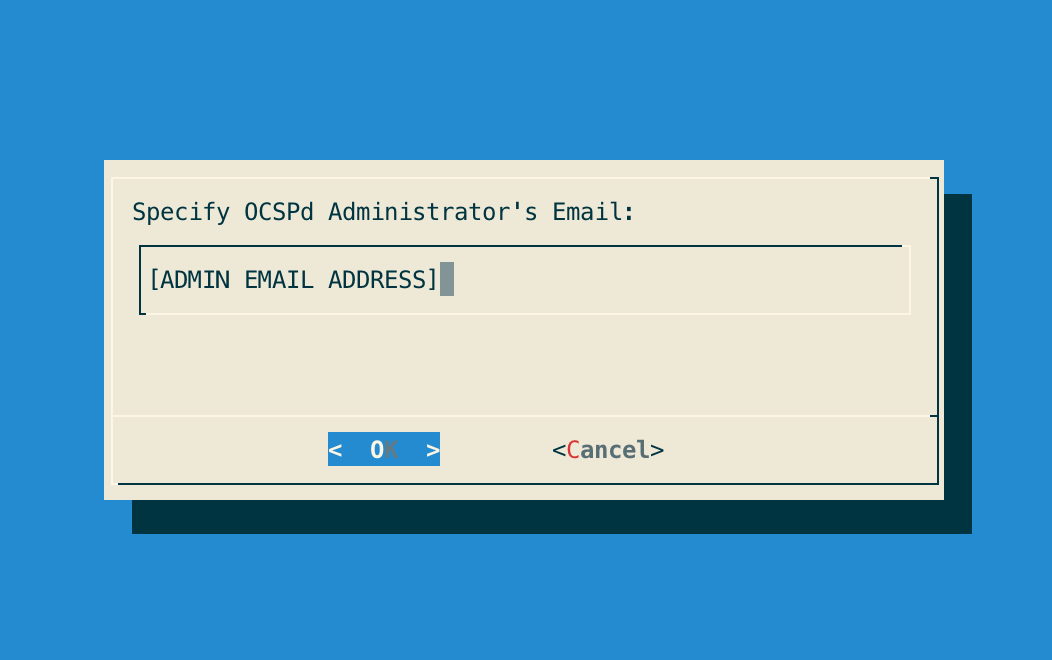
Step 4: Specify the email address of the OCSPd Administrator and validate:
Step 5: Exit the Configuration Utility;
Step 6: Validate the SMTP relay and Administrator Email Address with the following commands:
# yum install mailx
# mail -s ‘Hello OCSPd’ root
> Hello From OCSPd
.
Step 7: Ensure that the email defined step 4 receives the test email.
Configuring the Radius Server
Step 1: Access the server through SSH with an account with administrative privileges;
Step 2: Load the OCSPd Configuration Utility with the following command:
# /opt/ocspd/sbin/ocspd-configStep 3: In the main menu, select 'OCSPd':

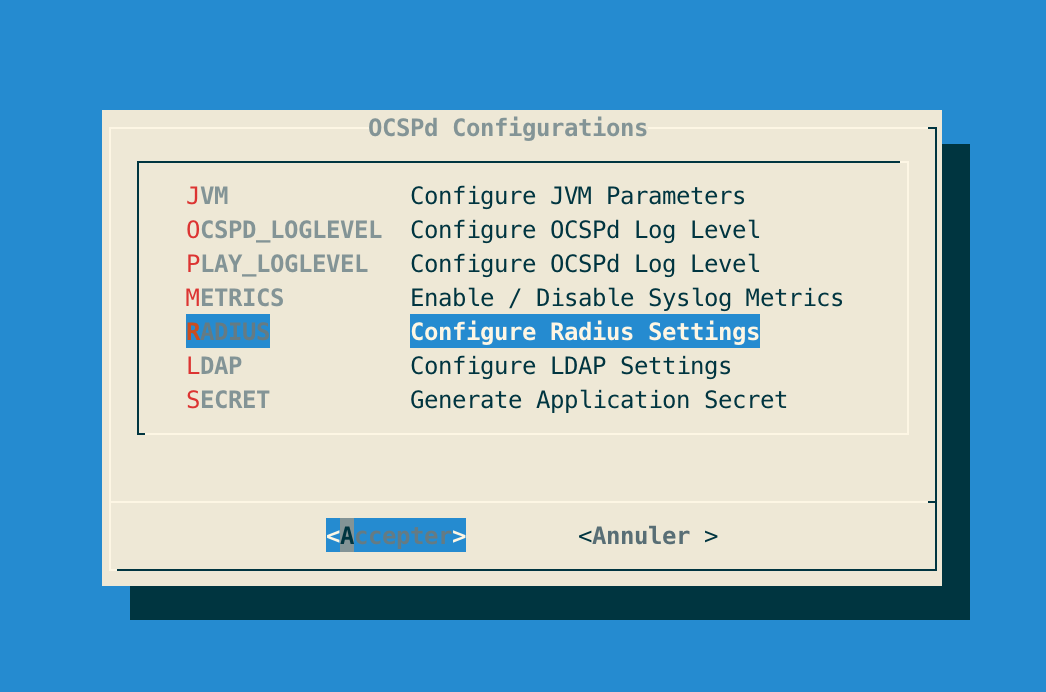
Step 4: In the OCSPd menu, select 'RADIUS':
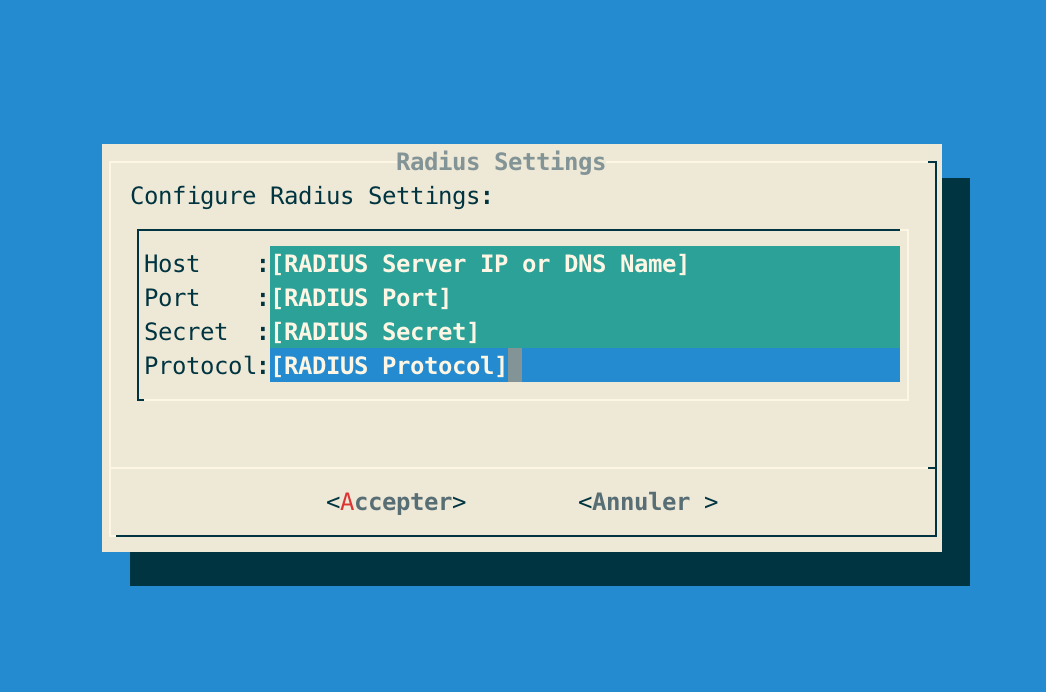
Step 5: Specify the following Radius configuration settings and validate:
| 'CHAP' and 'PAP' protocols are supported by OCSPd. |
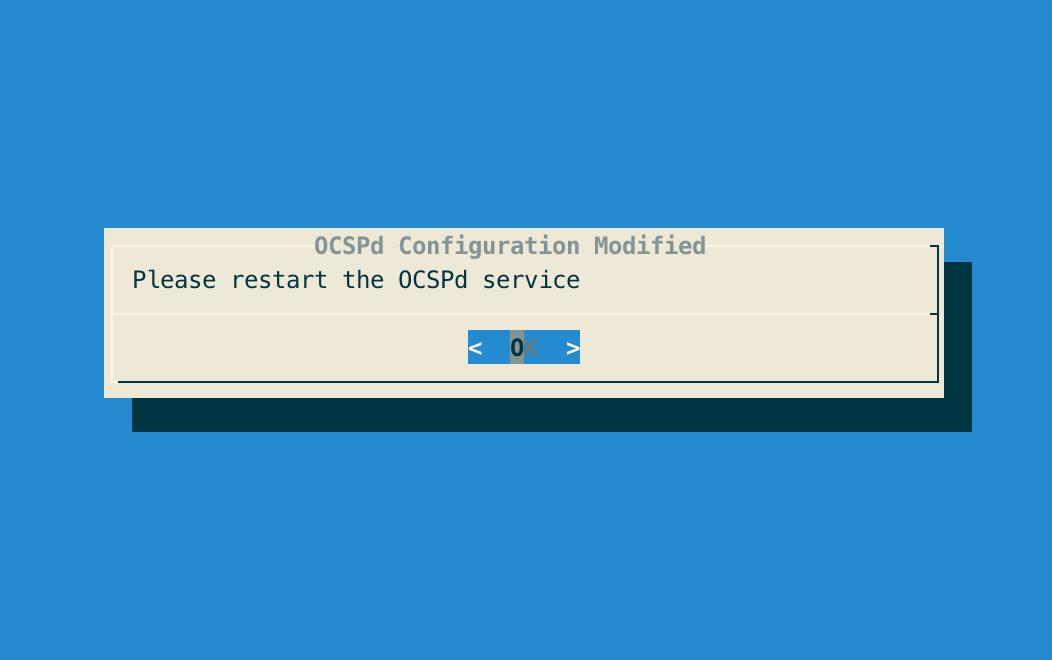
Step 6: The OCSPd configuration is updated:
Configuring the LDAP Server
Step 1: Access the server through SSH with an account with administrative privileges;
Step 2: Load the OCSPd Configuration Utility with the following command:
# /opt/ocspd/sbin/ocspd-configStep 3: In the main menu, select 'OCSPd':
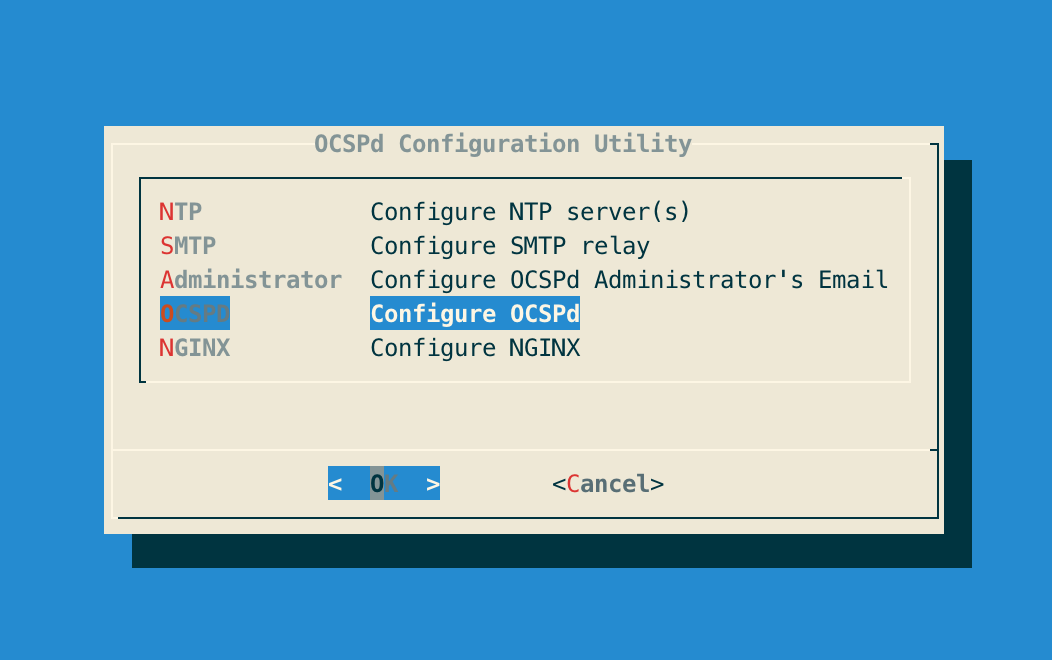
Step 4: In the OCSPd menu, select 'RADIUS':
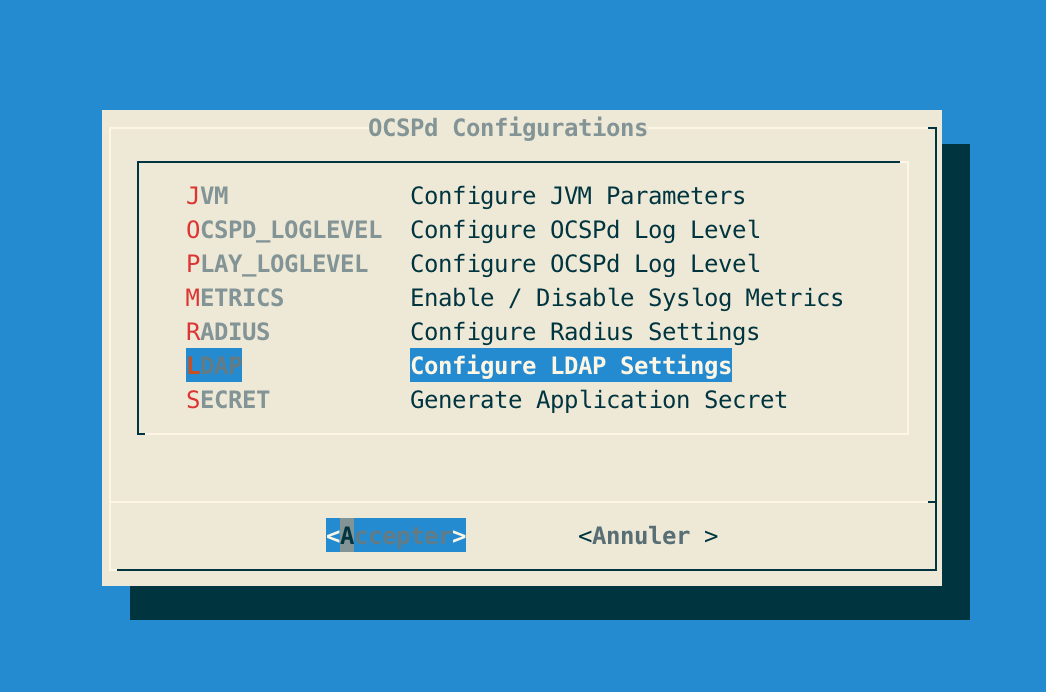
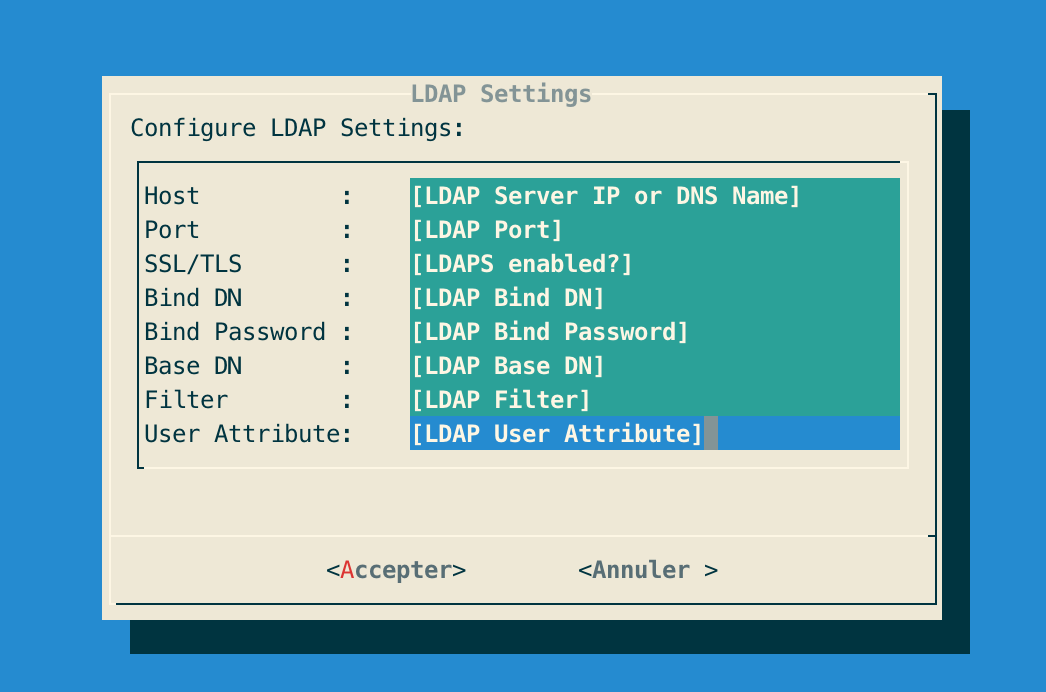
Step 5: Specify the following LDAP configuration settings and validate:
| By default the LDAP configuration will use port 389 and SSL/TLS 'false'. |
| The filter settings is optionnal. |
Step 6: The OCSPd configuration is updated:

Generating a new OCSPd Application Secret
Step 1: Access the server through SSH with an account with administrative privileges;
Step 2: Load the OCSPd Configuration Utility with the following command:
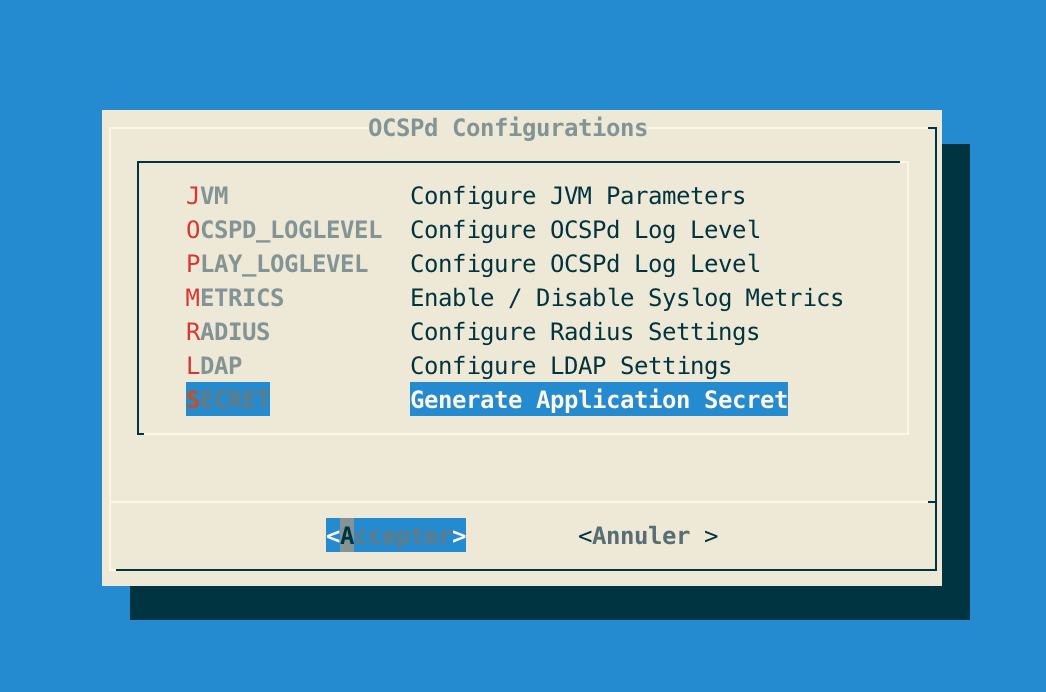
# /opt/ocspd/sbin/ocspd-configStep 3: In the main menu, select 'OCSPd':

Step 4: In the OCSPd menu, select 'SECRET':
Step 5: Validate the new OCSPd Application Secret:
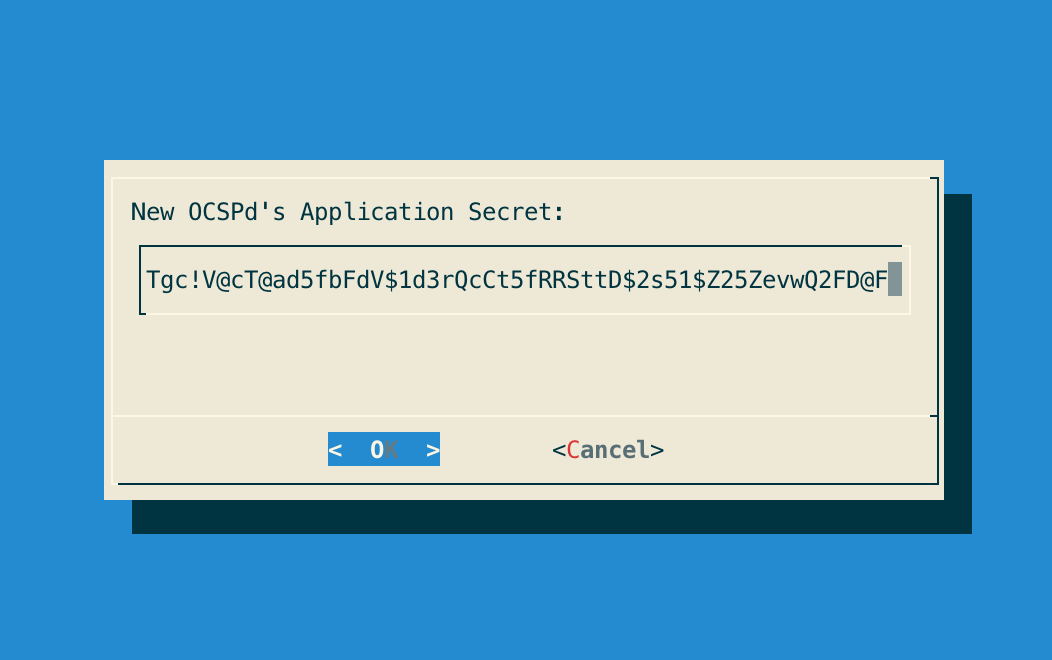
Step 6: The OCSPd configuration is updated:

Installing the OCSPd license
Step 1: Upload the 'ocspd.lic' file through SCP under '/tmp/ocspd.lic':
Step 2: Access the server through SSH with an account with administrative privileges;
Step 3: Move the license file and set the permissions using the following commands:
# mv /tmp/ocspd.lic /opt/ocspd/etc
# chown ocspd:ocspd /opt/ocspd/etc/ocspd.lic
# chmod 640 /opt/ocspd/etc/ocspd.lic