Issuing a subordinate Certification Authority
Signed locally
1. Log in to the Stream Administration Interface.
2. Go to Create a new CA from the menu on the left.
3. Input your CA’s internal name and manage the DNs that you want to add (using the Add a DN element button on the bottom left corner) or to remove (using the ![]() icon).
icon).
4. Select the Keystore that contains the key you want to use to generate this CA, then select the key that you want to use. If you do not have a keystore set up yet, please refer to the Managing Keystores & Keys section.
5. Select Signed with an internal CA as the signing method.
6. Select the Managed CA you want to sign the certificate with.
7. Set the lifetime or your CA in days. Optionally, you can set up a backdate and a path length.
8. Optionally, you can set up an OID Policy, a CPS Pointer, add CRLDPs and the CA’s AIA. Once you are finished with the settings, click "Issue CA".
9. You can directly configure your CA from this menu, by turning on or off enrollment, trusting the CA for client authentication or server authentication, enabling OCSP or enforcing key unicity.
Additionally, if you issued this CA using an RSA key from a PKCS#11 keystore, you can choose to use the PSS signature algorithm instead of the default PKCS#1 one to sign new certificates. To do so, simply turn on the toggle. Note that your HSM must support the CKM_RSA_PKCS_PSS mechanism.
Once you’re satisfied with your settings, click "Add".
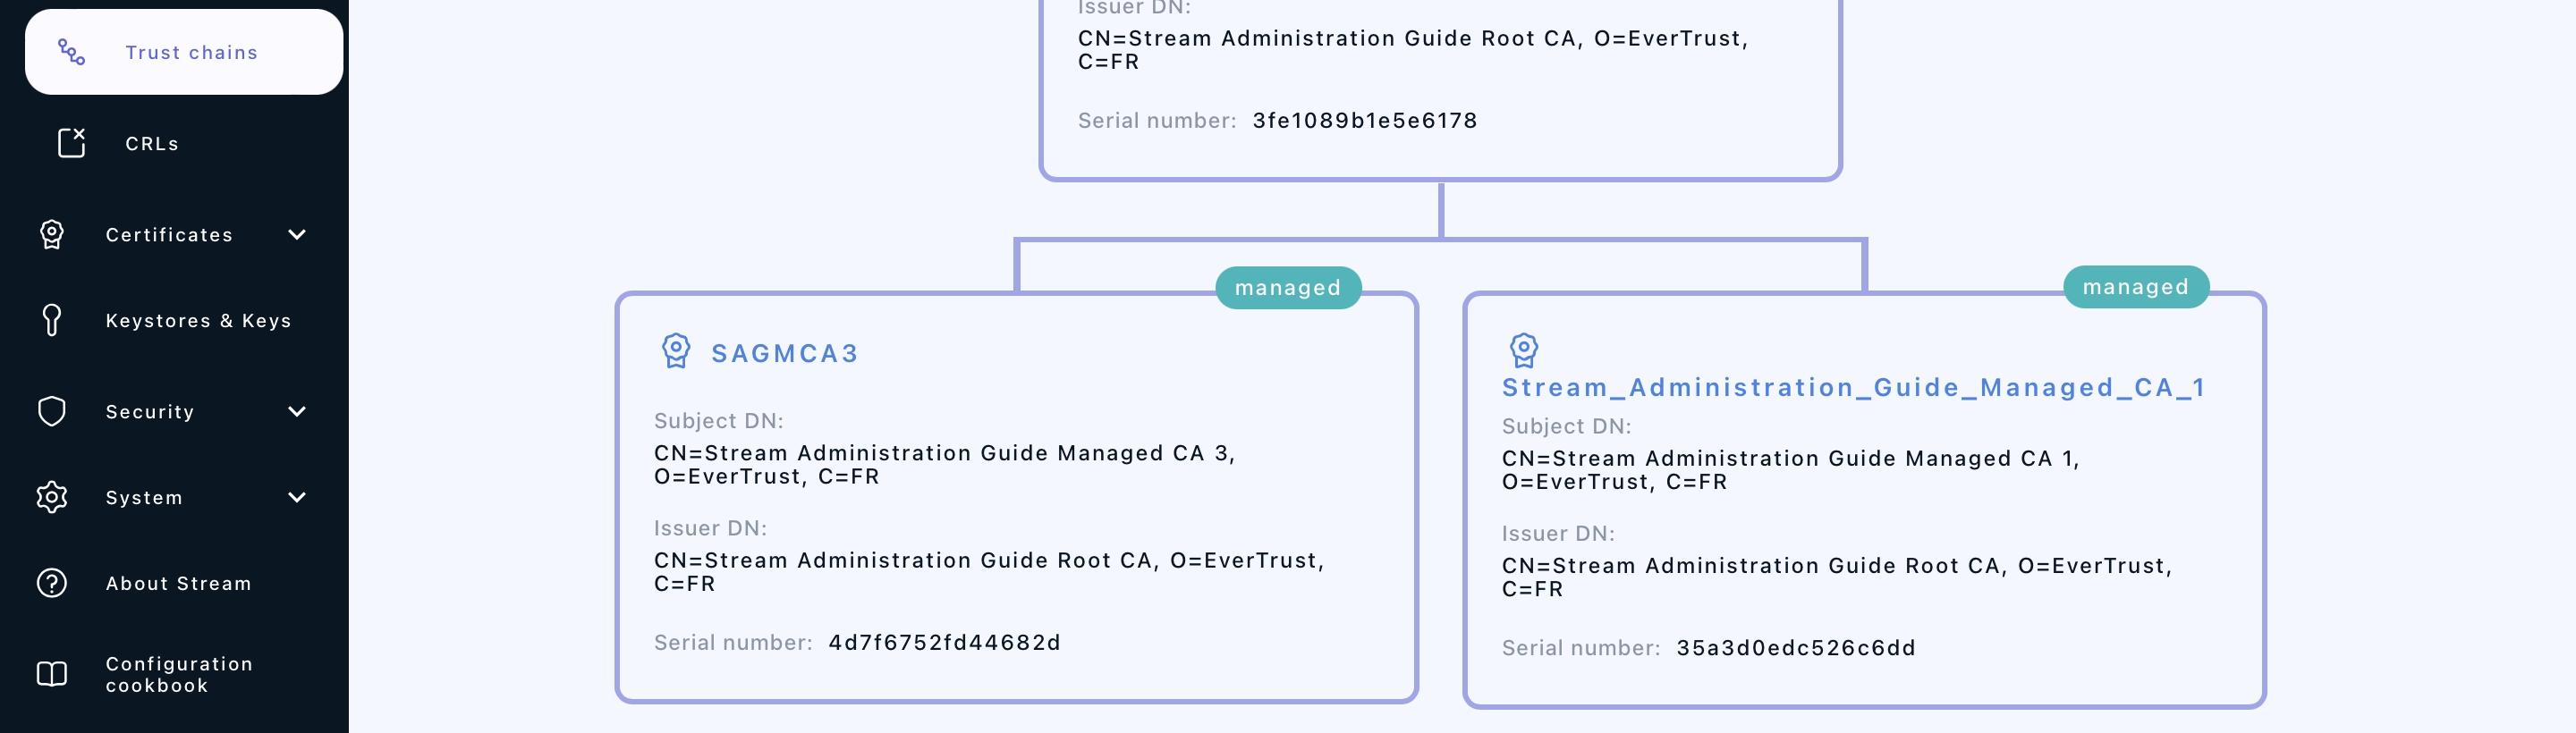
If everything was ok, you should see your CA marked as managed on a new trust chain if you go to Certification Authorities > Trust chains:
Signed externally
1. Log in to the Stream Administration Interface.
2. Go to Create a new CA from the menu on the left.
3. Input your CA’s internal name and manage the DNs that you want to add (using the Add a DN element button on the bottom left corner) or to remove (using the ![]() icon).
icon).
4. Select the Keystore that contains the key you want to use to generate this CA, then select the key that you want to use. If you do not have a keystore set up yet, please refer to the Managing Keystores & Keys section.
5. Select Signed with an external CA as the signing method.
6. Click the link in the Export section to download the CSR for your CA, then sign it using your external CA and export the signed certificate under PEM or DER format.
7. Upload the signed certificate in the Import section.
8. Scroll down to the bottom of the page and check the certificate’s information. If everything is correct, click "Next".
9. You can directly configure your CA from this menu, by turning on or off enrollment, trusting the CA for client authentication or server authentication, enabling OCSP or enforcing key unicity. Once you’re satisfied with your settings, click "Add".
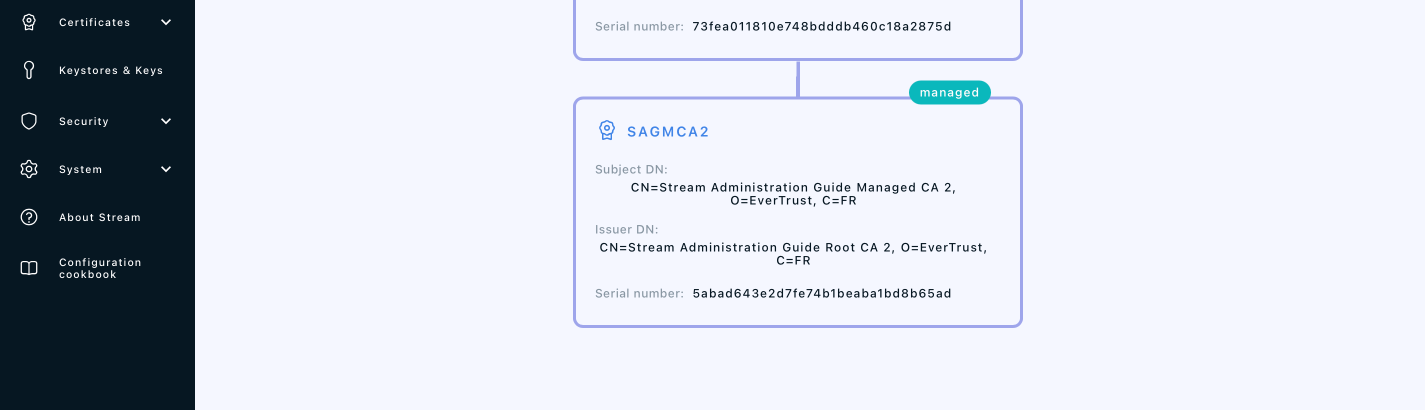
If everything was ok, your should see your CA marked as managed on a new trust chain if you go to Certification Authorities > Trust chains: